

 Sign In
 Create Account


First before we start you'd need the following.
- GIMP software. It can be downloaded here for free.
- A few brushes for GIMP. They can be downloaded here for free.
- A render which you'd like to use. Which can be obtained here for free - but i'd suggest you sign up so that you'd be able to obtain the full renders. Registration is free.
Step 1:
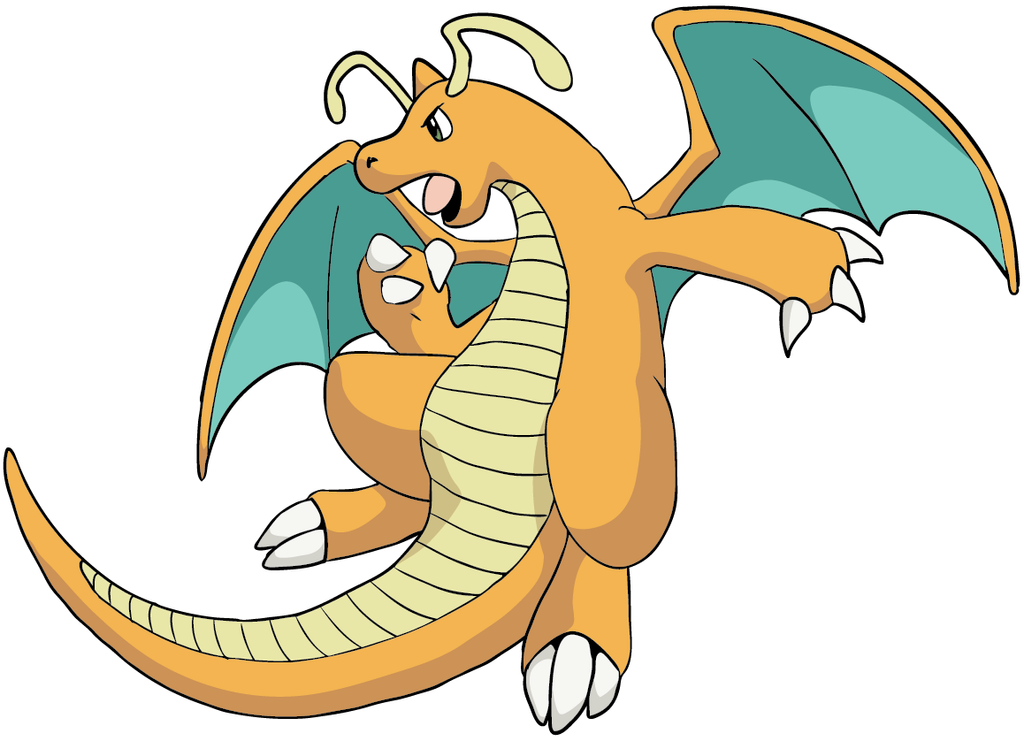
You're going to need a render I chose this one:
Open GIMP. Right click > New.
Something like this will pop up.
Copy everything into you see into the pop up in GIMP.

Step 2:

You'll get an image like this. This is your first layer.
The Black and Gray squares means that that layer is transparent.
Delete the layer there called 'Background'
Step 3:
Right click > Open as Layer > find the image you saved and open it.

It'll come out like this.
Use the move tool to move it to where you want to.
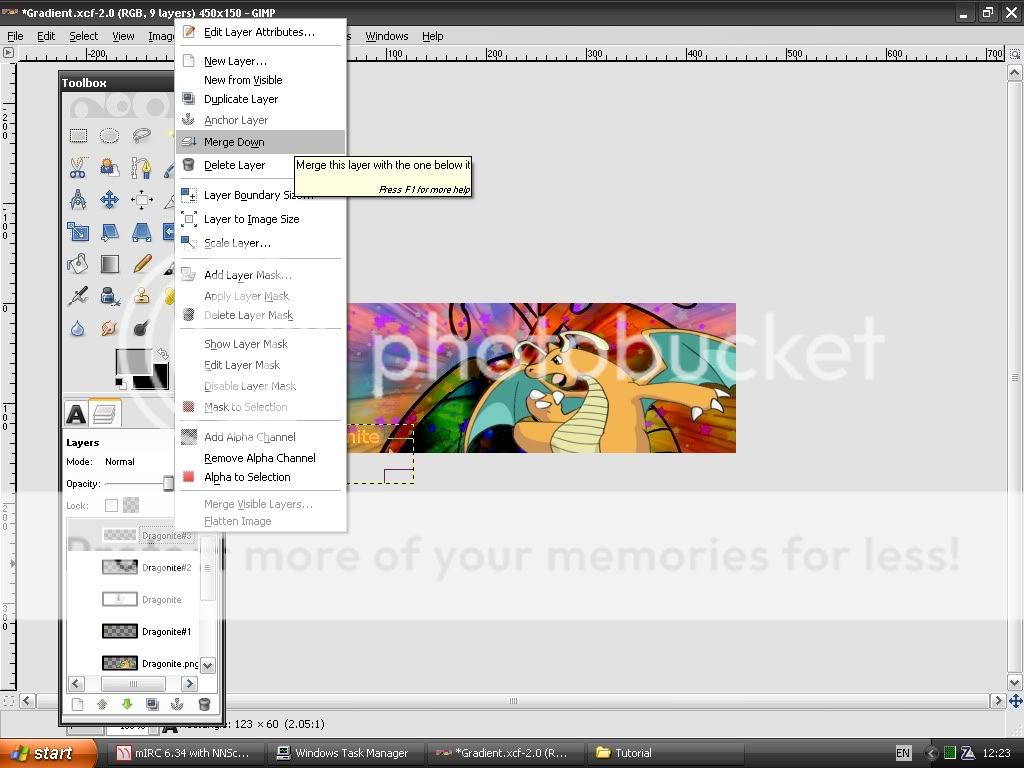
Now right click the layer and duplicate it.
Set one of those layers to burn and leave the other as normal.
Step 4:
Use the resize tool to resize the new layer.
Use the imade below to guide you.

Then move that layer to where you think you'd like it I moved it near the right side.
Step 5:
Create a new layer by right clicking > Layer > New Layer. Leave width as 450 and height as 150 pxs and rename it Background.
Click the smaller dragonite layer and then click Edit > copy when your mouse is above that smaller dragonite pic.
Go to the layer you just created 'Background' click the brush tool and select the 1st brush you'll see it's the copy you created of the dragonite.
Then go crazy with that background layer and colour it all in with the dragonite brush.
Like so:

Step 6:
Still on that background layer click right click > Filters > Motion Blur.
Use the image below to adjust your settings, don't copy my X and Y cords you have to figure that out for yourself depending on where you put the smaller dragonite, copy everything else.

Step 7:
Create a new layer. right click > layers > new layer. Only chnage the name to 'Gradient' leave everything how it was before.
Then click the Gradient tool, choose foreground to background gradient.
Then change your foreground colour to any colour and your background colour to black.
Then make a line until you're satisfied this is my result.

Move the Gradient Layer under everything else but above the 'background' layer and set the gradient layer to Burn/overlay whichever looks better.
Step 8:
Make a new layer name is 'Starz', position it under the two dragons.
Find a star brush from devianart and starting brushing in with the brush as so:

Step 9:
This isn't compulsory and you don't have to make the text blur but it's just for those who want to try more.
Click the text tool, type something in as so:

Duplicate the text layer three times now.
Step 10:
Change the colour for one of the layers to orange and for the other three change it to white.
Now for one of the white texts, right click > Filters > Blur > Gaussion blur set both height & width to 5.00 - click ok.
Go to another white text and do the same thing only set both height & width to 15.00 and do the same for the third one but set both values to 25.00.
Step 11:
Move the orange text to the top of the text layers and start mergnd downwards as such:
Step 12:
Once you're happy with it all it's time to save it.
Right click > File > Save as > change file type as .png, click ok, export & save.
Here's a lil guide:


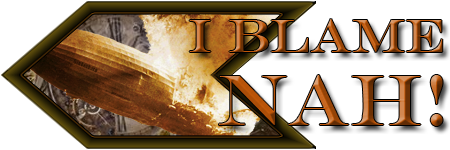
Done!
PS: I'd suggest saving it in the .XCF format first so you can come back and edit it if you ever need to.
This tutorial isn't done i'll get round to adding some more stuff later btu for now enjoy!
If you have questions feel free to reply and i'll get back to them ASAP.
Also can we get a tutorial sub forum?

 Back to top


